Installation
This page explains how to install the Dottifier module so that it can be used from the Powershell commandline or scripts.
-
Download the latest version of Dottifier from the releases page.
(Currently is Dottifier only available as Powershell Module, file name includes-psm.) -
Extract the
Dottifierdirectory from the.zipfile and put it in an accessible location. -
You can now choose where to install the module, in the default Powershell Modules directory or a custom one.
-
Default directory:
Go to the directory located at:%ProgramFiles%\WindowsPowerShell\Modulesand move the previously extractedDottifierdirectory into this one. -
Custom directory:
- Create a module directory at a location of choosing, e.g.
C:\MyPowershellModules - Move the previously extracted
Dottifierdirectory into the created one. - Now needs the directory path be appended to the system it's environment variable called
PSModulePath.
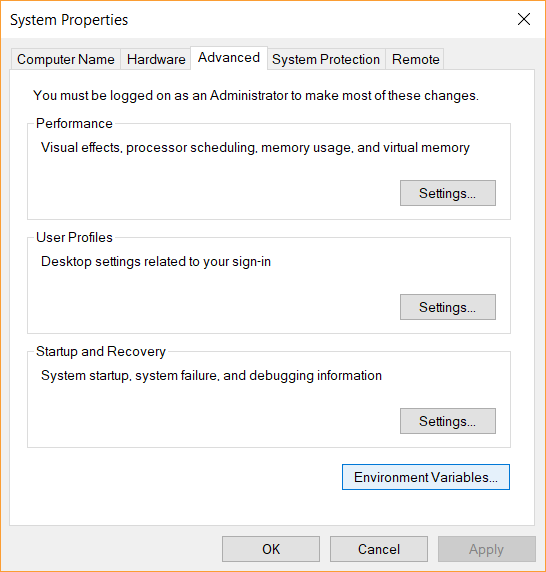
e.g. in Windows, go toSystem->Advanced System Settings->Advanced(tab) ->Environment Variables
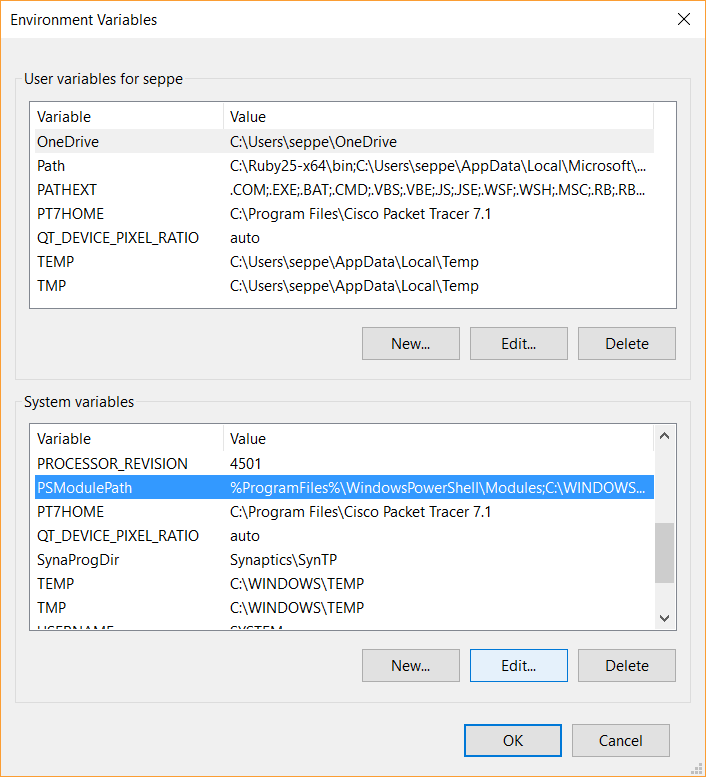
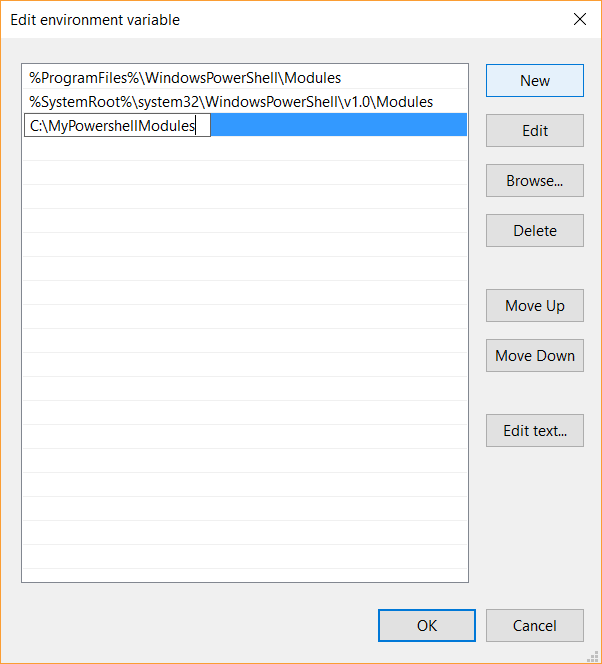
Locate thePSModulePathvariable in theSystem Propertiesand press edit. Add now a new entry to the list pointing to the directory you created e.g.C:\MyPowershellModules. If it's not a list, but a single row, append the path separated by the;character.
Image steps: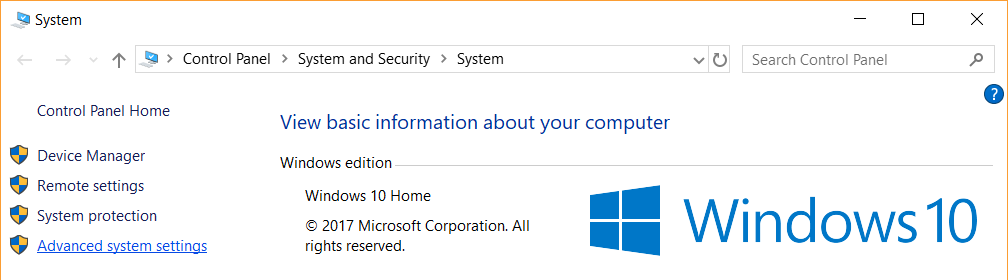
- Create a module directory at a location of choosing, e.g.
-
Default directory:
-
Restart the current Powershell sessions and give the Dottifier commands a try, go to the usage page for information on the commands.