UI_Sort
Curate spike trains from multiple long recordings efficiently using the spike sorting interface.
From the nigelDash dashboard select the block you want to sort, right click to open the operations menu and select sort. The dashboard will close and the sorting interface will pop up. The main interface is composed by three main figures:
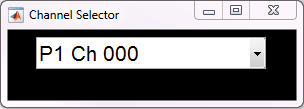
The drop down menu allows you to select one channel from the block to sort at a time.
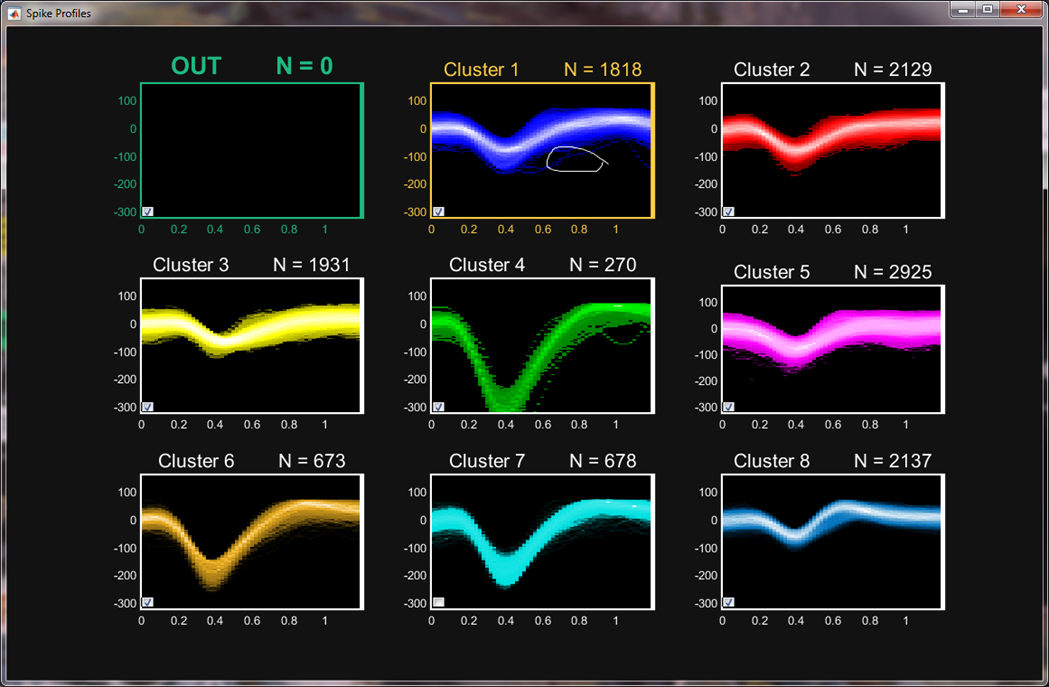
Here all the available clusters are shown in the time domain with amplitude on the y-axis. The maximum number of allowed clusters per channels is 9, with the first one being a noise cluster. Group similar spike profiles to identify units. Click on the window you want to move spikes to, and ctrl + click on the cluster you want to select from, dragging a lasso tool around the group of spikes you want to move in another window and double-clicking to finish. In the above example, the circled spikes will move to the noise window upon double clicking. The scroll wheel on the mouse will adjust the y-axis scale.
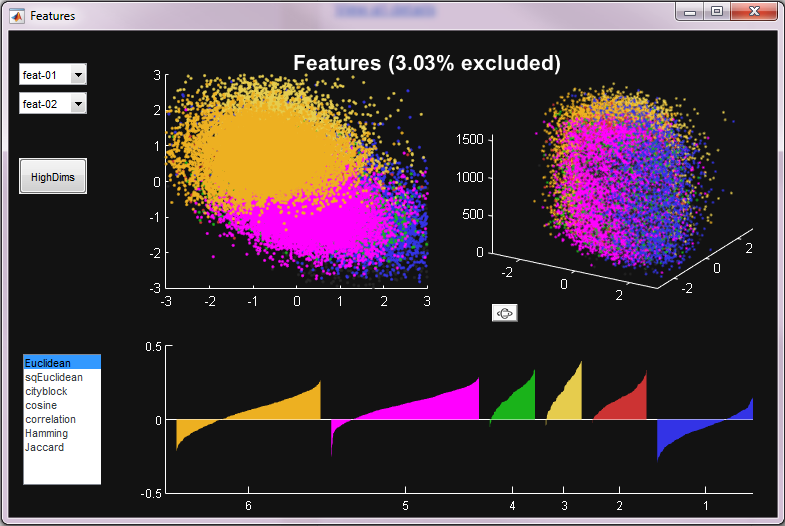
Here all the available clusters are shown in the features domain. The spikes categorized as noise are shaded in gray and shown as the percent excluded. The 2-D plot shows a projection of the spikes in a two dimensional plane inside the n-dimensional feature space you have selected. The 3-D plot shows the same data expanded through time.
| Description | Shortcut |
|---|---|
| Recluster | Ctrl + R |
| Save | Ctrl + S |
| Checkpoint | Spacebar |
| Undo | Ctrl + Z |
| Move all to cluster [1-8] | Ctrl + [1-8] |
| Move to noise | Ctrl + N |